


Prerequisites
OpenAPI Specification file (JSON or YAML format)
Mintlify account
GitHub for hosting your project
Code Editor - VS Code
Node.js - Node Package Manager
Introduction
Mintlify is a documentation platform that can create and maintain high-quality API documentation and software projects beautifully. It can be customized and works well with tools like OpenAPI specification, MDX (Markdown with React components), Git, code editors, and hosting platforms. This article will guide you through setting up your OpenAPI specification projects to Mintlify.
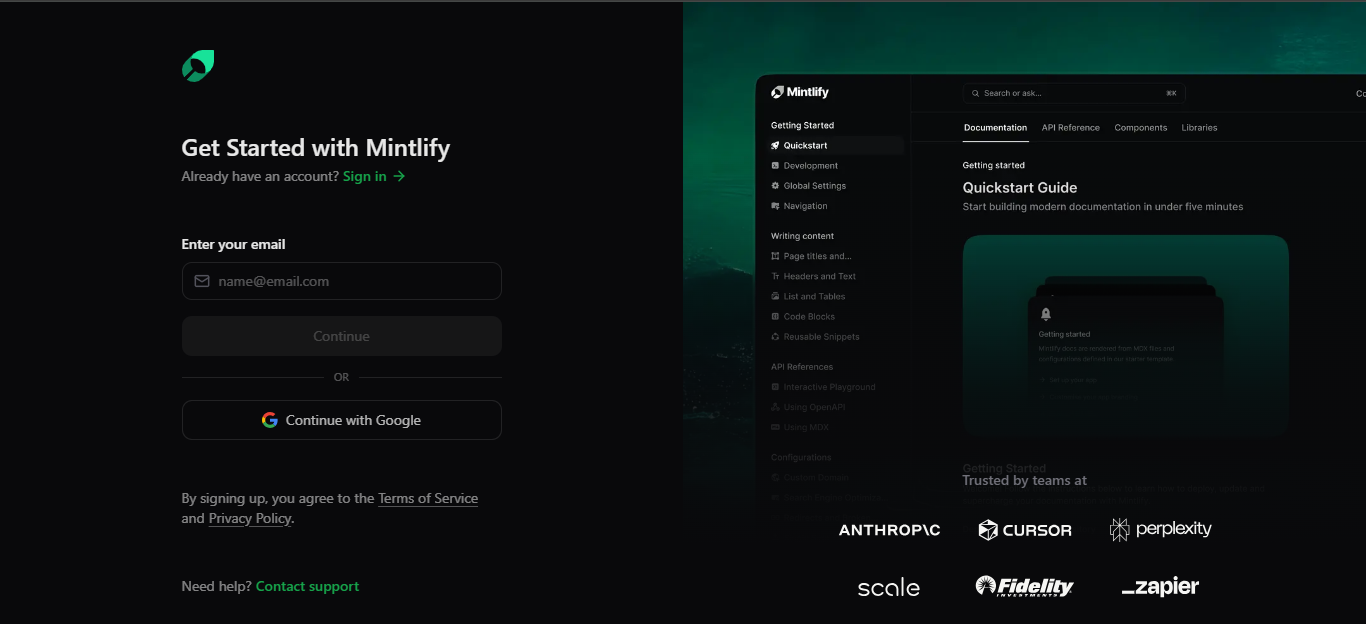
Step 1: Signup on Mintlify
- Sign up on Mintlify and verify your account.
Sign in to your GitHub account.
Create a new repository in your GitHub account.
Connect your GitHub account to Mintlify and give access to your public repositories.
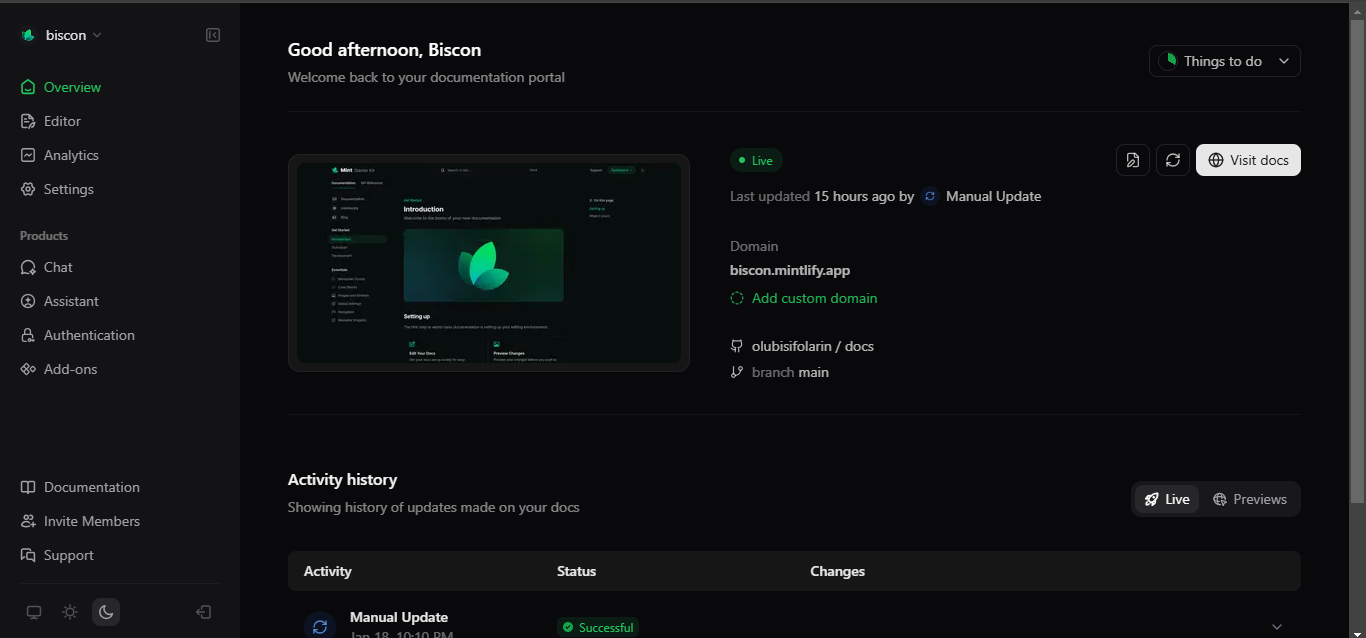
You will be redirected to your dashboard.
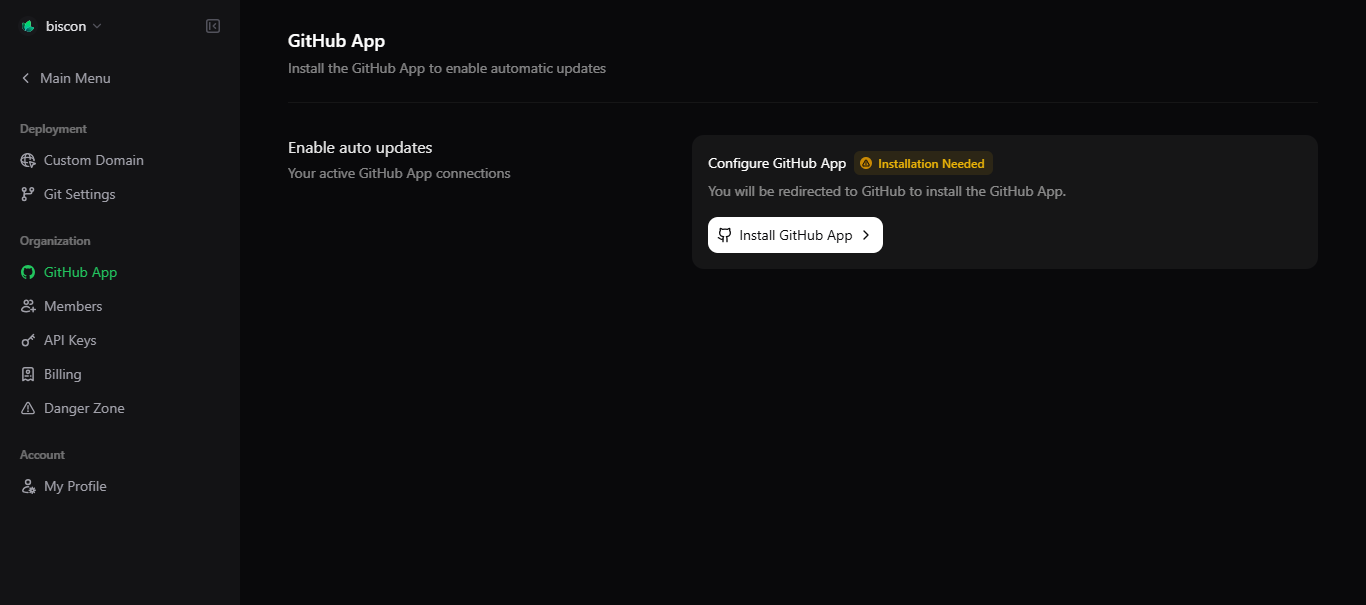
Step 2: Install the GitHub App
On the Mintlify dashboard.
Click on settings.
Click on the Install GitHub App.
- On the GitHub installation page, select the repository you created.
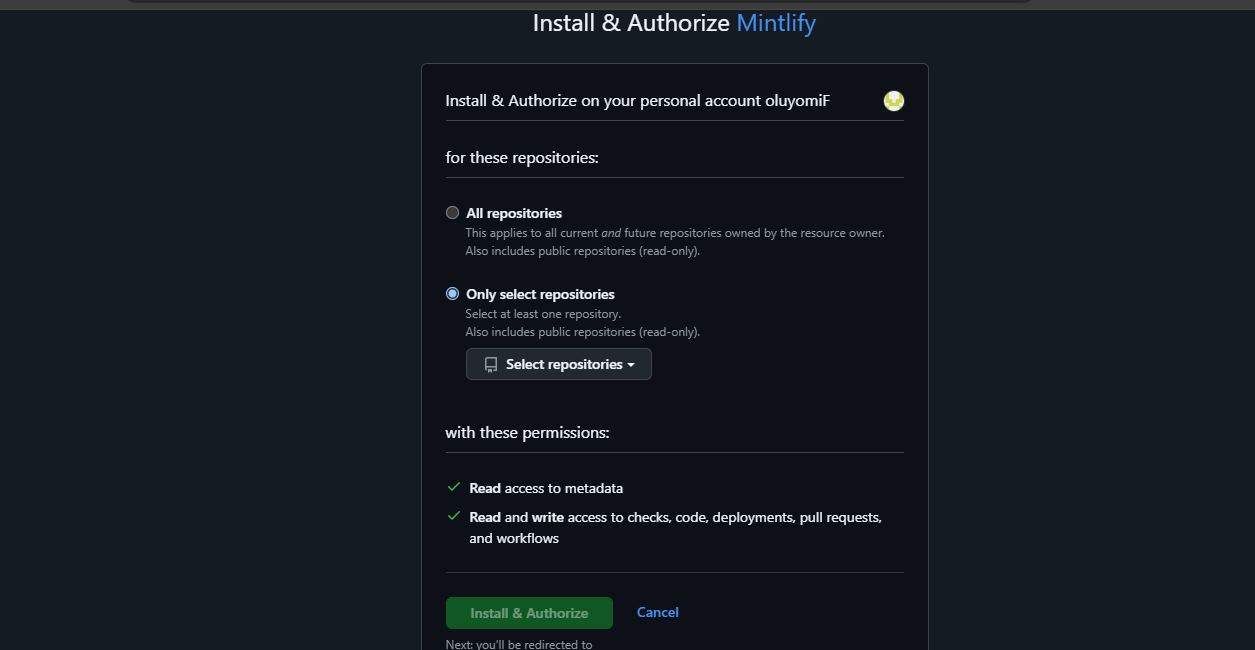
- Click on Install and Authorize
Step 3: Setting up your environment in the code editor
- Clone the repository to your local machine
git clone https://github.com/username/docs
- Navigate to the project directory
cd docs
Mintlify provides a starter kit designed to help you create API documentation. With this kit, you can customize, edit, add, remove content, and preview your changes before pushing them to Git. To get started, ensure Node.js is installed, then proceed to install Mintlify.
- Install Mintlify
npm install -g mintlify
Step 4: Populating your API pages
Your OpenAPI specification file should be properly formatted and validated. The OpenAPI validator can help you do this. Your Open API specification file should be in JSON or YAML format.
mint.js is a configuration file that allows you to customize your documentation. It stores project-specific settings and helps Mintlify know how to process and render your documentation. It can be used to:
Define our documentation structure
Set colors, fonts, and styling
Connect OpenAPI specification documentation
Set SEO and site metadata
Configure page layouts and components
To update the documentation with your OpenAPI spec, follow these steps:
- Delete
create.mdx,delete.mdx, andget.mdxfiles in theapi-reference/endpoint/ directory, as they were automatically generated from the existingapi-reference/openapi.jsonone that comes with the Mintlify starter kit.
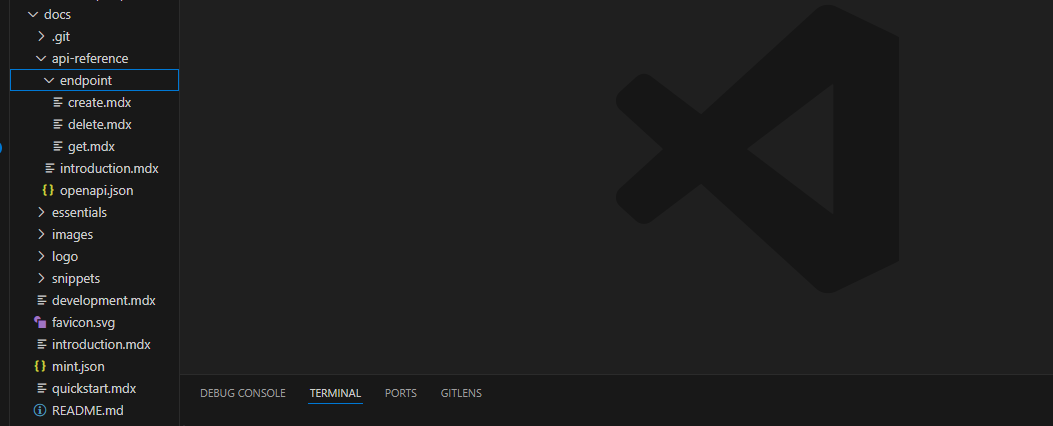
Replace the openapi.json file with your API specification or URL
Run this command to generate your
mdxfile for your OpenAPI specification.
npx @mintlify/scraping@latest openapi-file ./api-reference/openapi.json -o ./api-reference
Output:

NOTE
Test all links and navigation in your documentation
Verify that your OpenAPI specifications are valid
Check that all MDX files are properly formatted
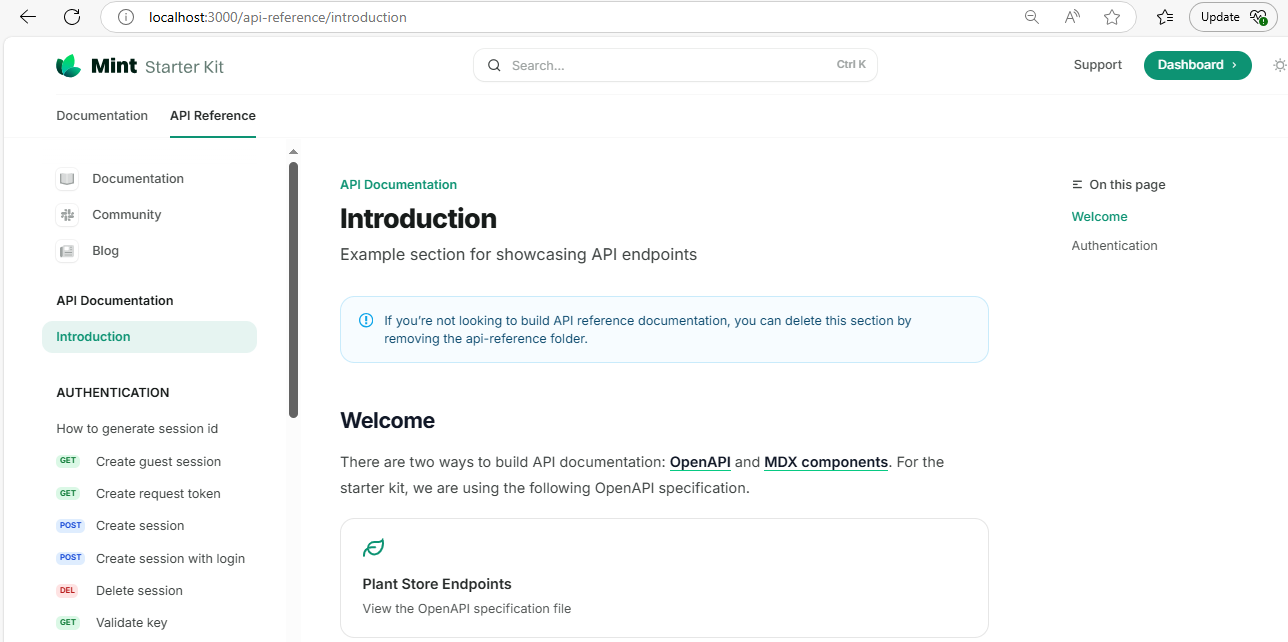
To start the local development server, run:
mintlify dev
That's all you need to preview your documentation locally! Your site should be running at http://localhost:3000
Step 5: Pushing to git
One of the advantages of working with Mintifiy is real-time tracking which allows you to make changes to your documentation locally and push those updates to your Git repository. Here’s how to do it:
- Stage your changes
git add .
- Commit your changes
git commit -m “first commit”
- Push to your repository
git push origin main
Step 6: After Pushing
Once you've pushed your changes:
Your documentation will automatically rebuild on Mintlify's platform
Changes typically appear within a few minutes
You can verify the deployment status on your Mintlify dashboard.
Conclusion
In this article, you have learned how to use Mintlify to set up OpenAPI specifications and create attractive, user-friendly documentation. Mintilify makes it easy to modify, maintain, update, and publish in real time with the help of Github integration. Whether you’re an experienced developer, a technical writer, or new to API documentation, Mintlify provides a scalable solution for building and maintaining high-quality and professional documentation.